No products in the basket.

 Zakaria Belkhay
July 6, 2026
Zakaria Belkhay
July 6, 2026
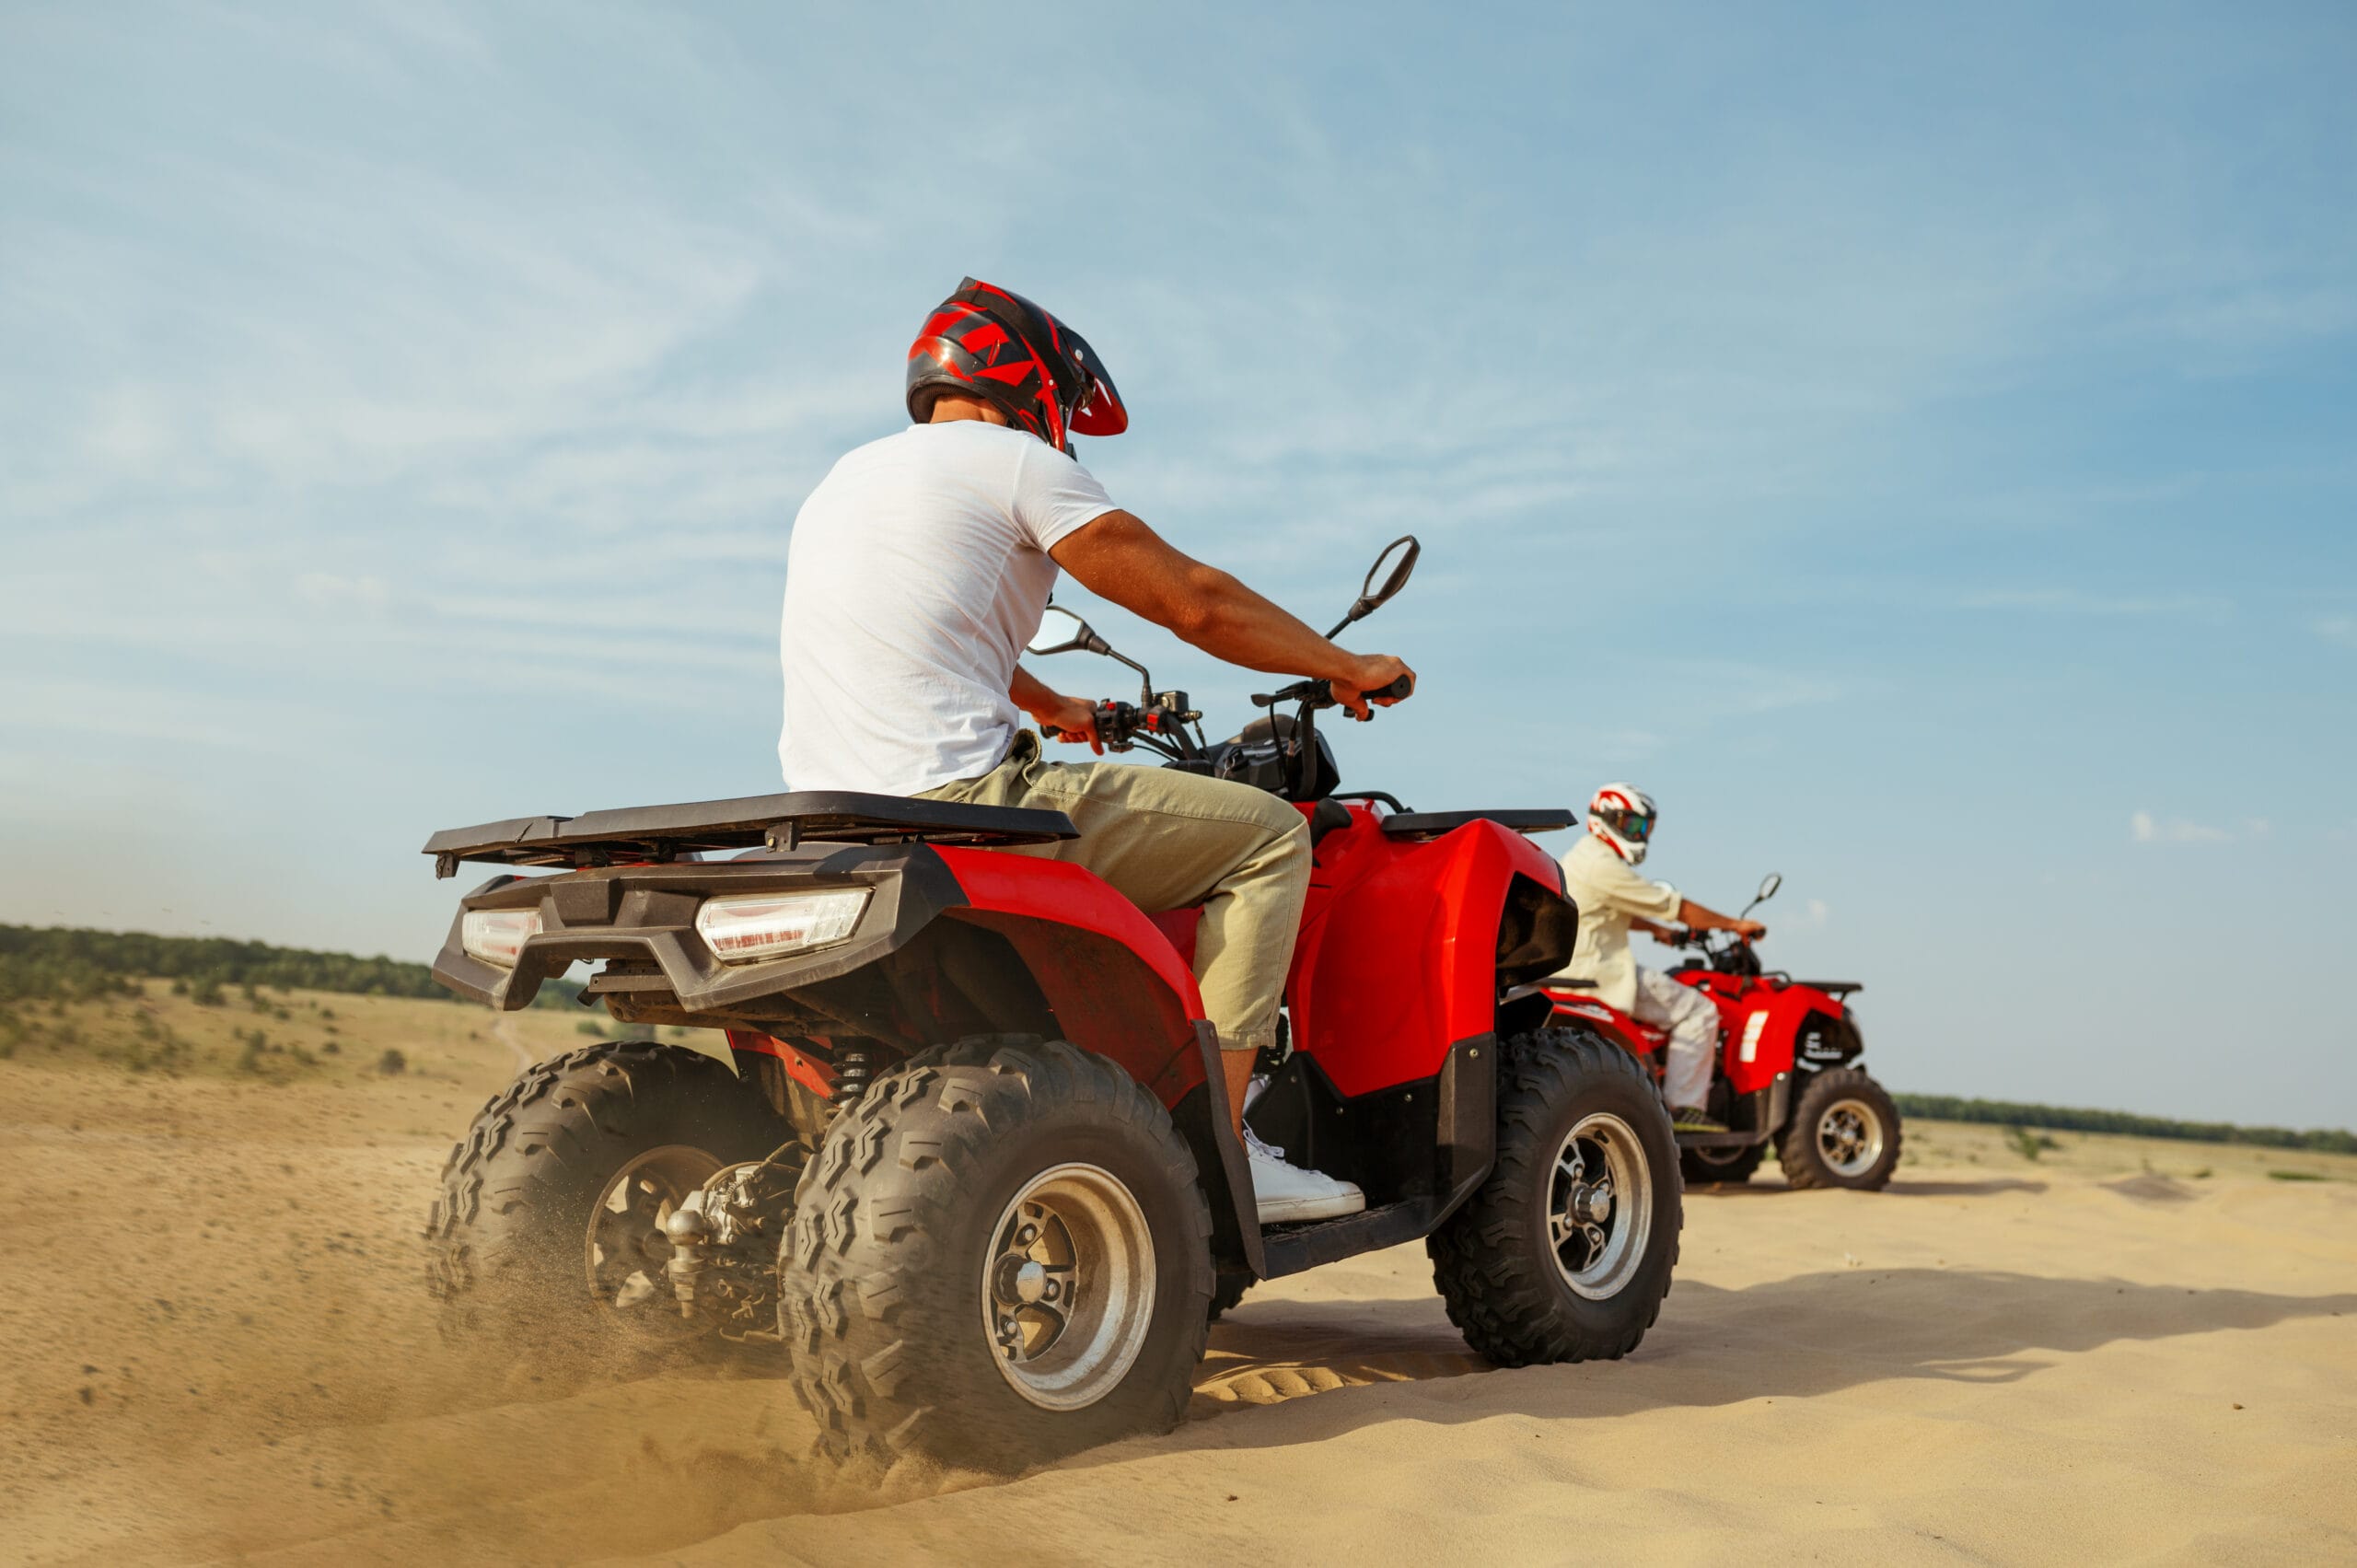
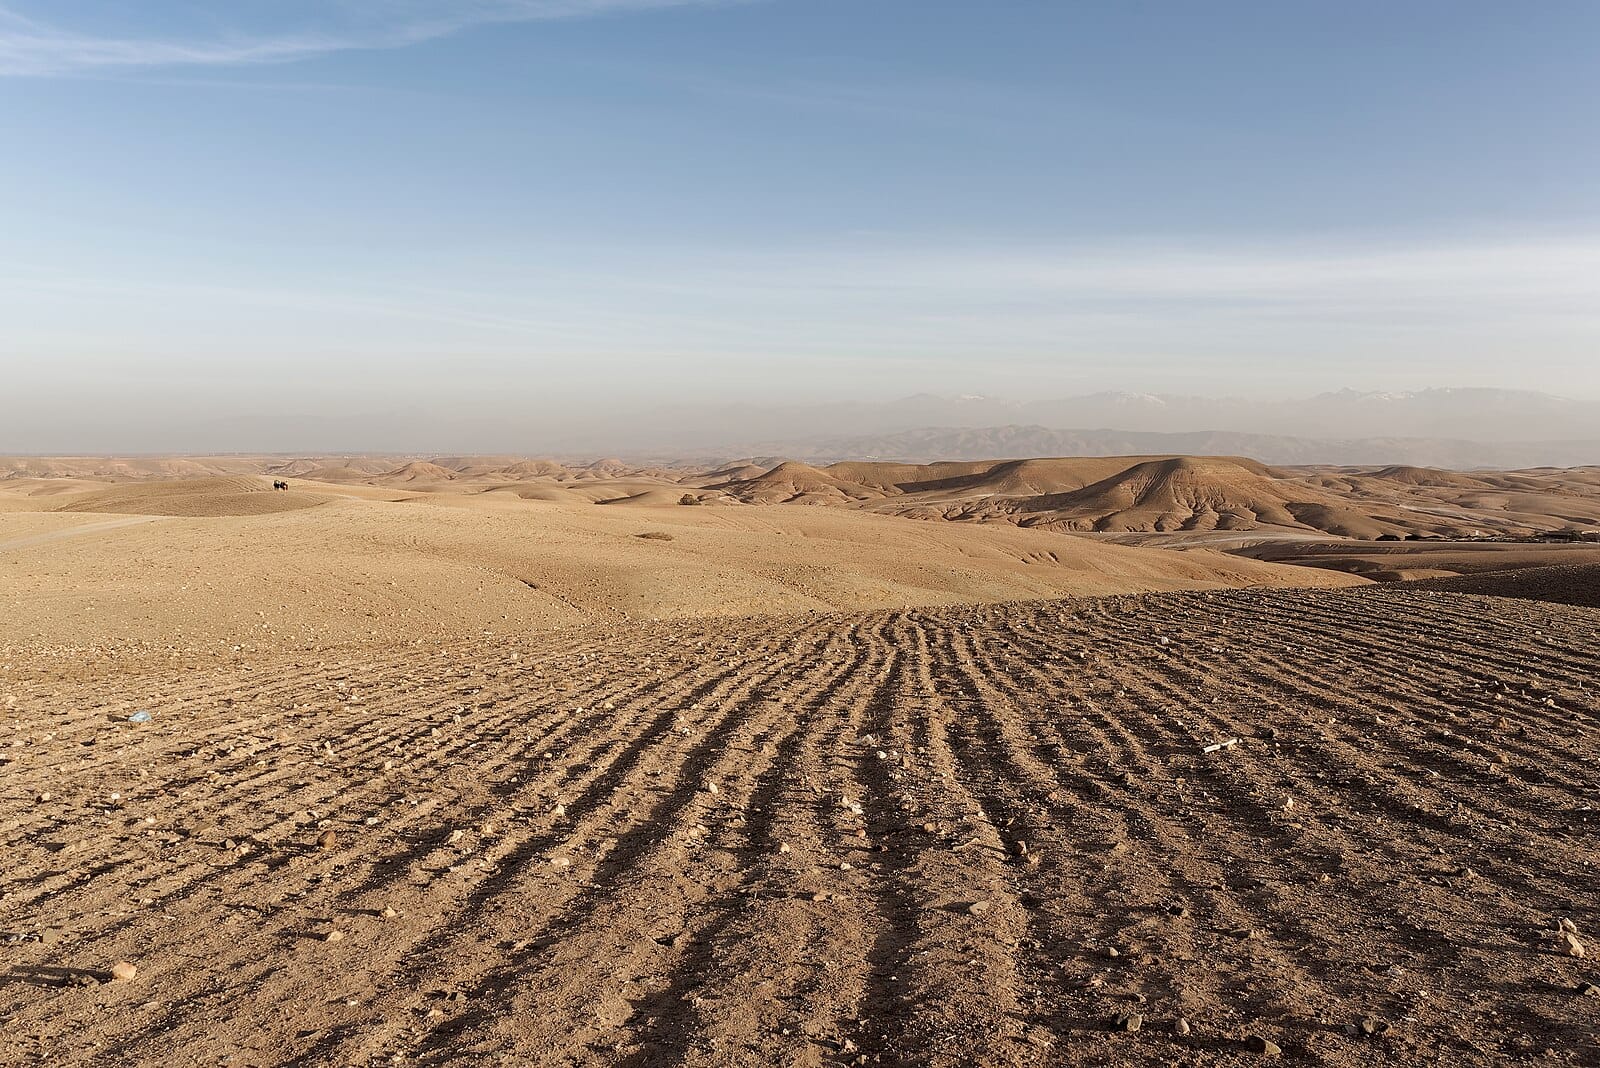
A quad tour outside Marrakech gives you terrain that’s genuinely hard to replicate anywhere else — ochre piste cutting through the Agafay rocky plateau, Atlas foothills in the background, dust clouds catching the afternoon light. It’s the kind of landscape that looks extraordinary on camera when you get it right, and oddly flat when you don’t.
The problem isn’t usually the GoPro. The problem is settings dialled in for a beach holiday, a mount that transmits every bump in the handlebar, or footage shot at the wrong time of day when the Moroccan sun turns everything into a bleached-out white block.
This guide covers everything you need to know before, during, and after your ride. We start with gear preparation and mount selection, move through the exact camera settings that handle bright desert light, and finish with a simple editing workflow you can run on your phone before dinner. Along the way, we flag the five mistakes we see most often on quad excursions — and how to avoid each one.
Whether you’re riding solo through the Palmeraie, joining a couples’ buggy tour at sunset, or taking the family out to the Agafay, the principles are the same. Good footage starts 24 hours before you start the engine.
The mount is the single most important decision you’ll make, and it’s worth getting right before you land in Marrakech. Quad handlebars vibrate at a frequency that makes helmet-cam footage look smooth by comparison, so avoid handlebar clamps unless you’re adding a dedicated vibration dampener underneath.
The three mounts that consistently deliver usable footage on quad excursions are the chest harness, the helmet chin mount, and the jaw mount on a full-face helmet. Each has a distinct look:
If the operator provides helmets (standard practice on professional tours), ask in advance whether your mount will fit their helmet model. Bring a roll of thin silicone grip tape if you want to secure the base plate without scratching the helmet.
One mount to reconsider: the selfie stick held in one hand. Beyond the safety risk on uneven piste, the footage is almost always unusable — too much arm shake, camera pointing at the sky half the time. Leave the selfie stick at the riad.
For riders who want a second angle, a small magnetic mount placed on the quad frame near the dashboard can produce an interesting low-rider shot. Ask your guide where it’s safe to attach — fuel lines and exhaust areas are obviously off limits.
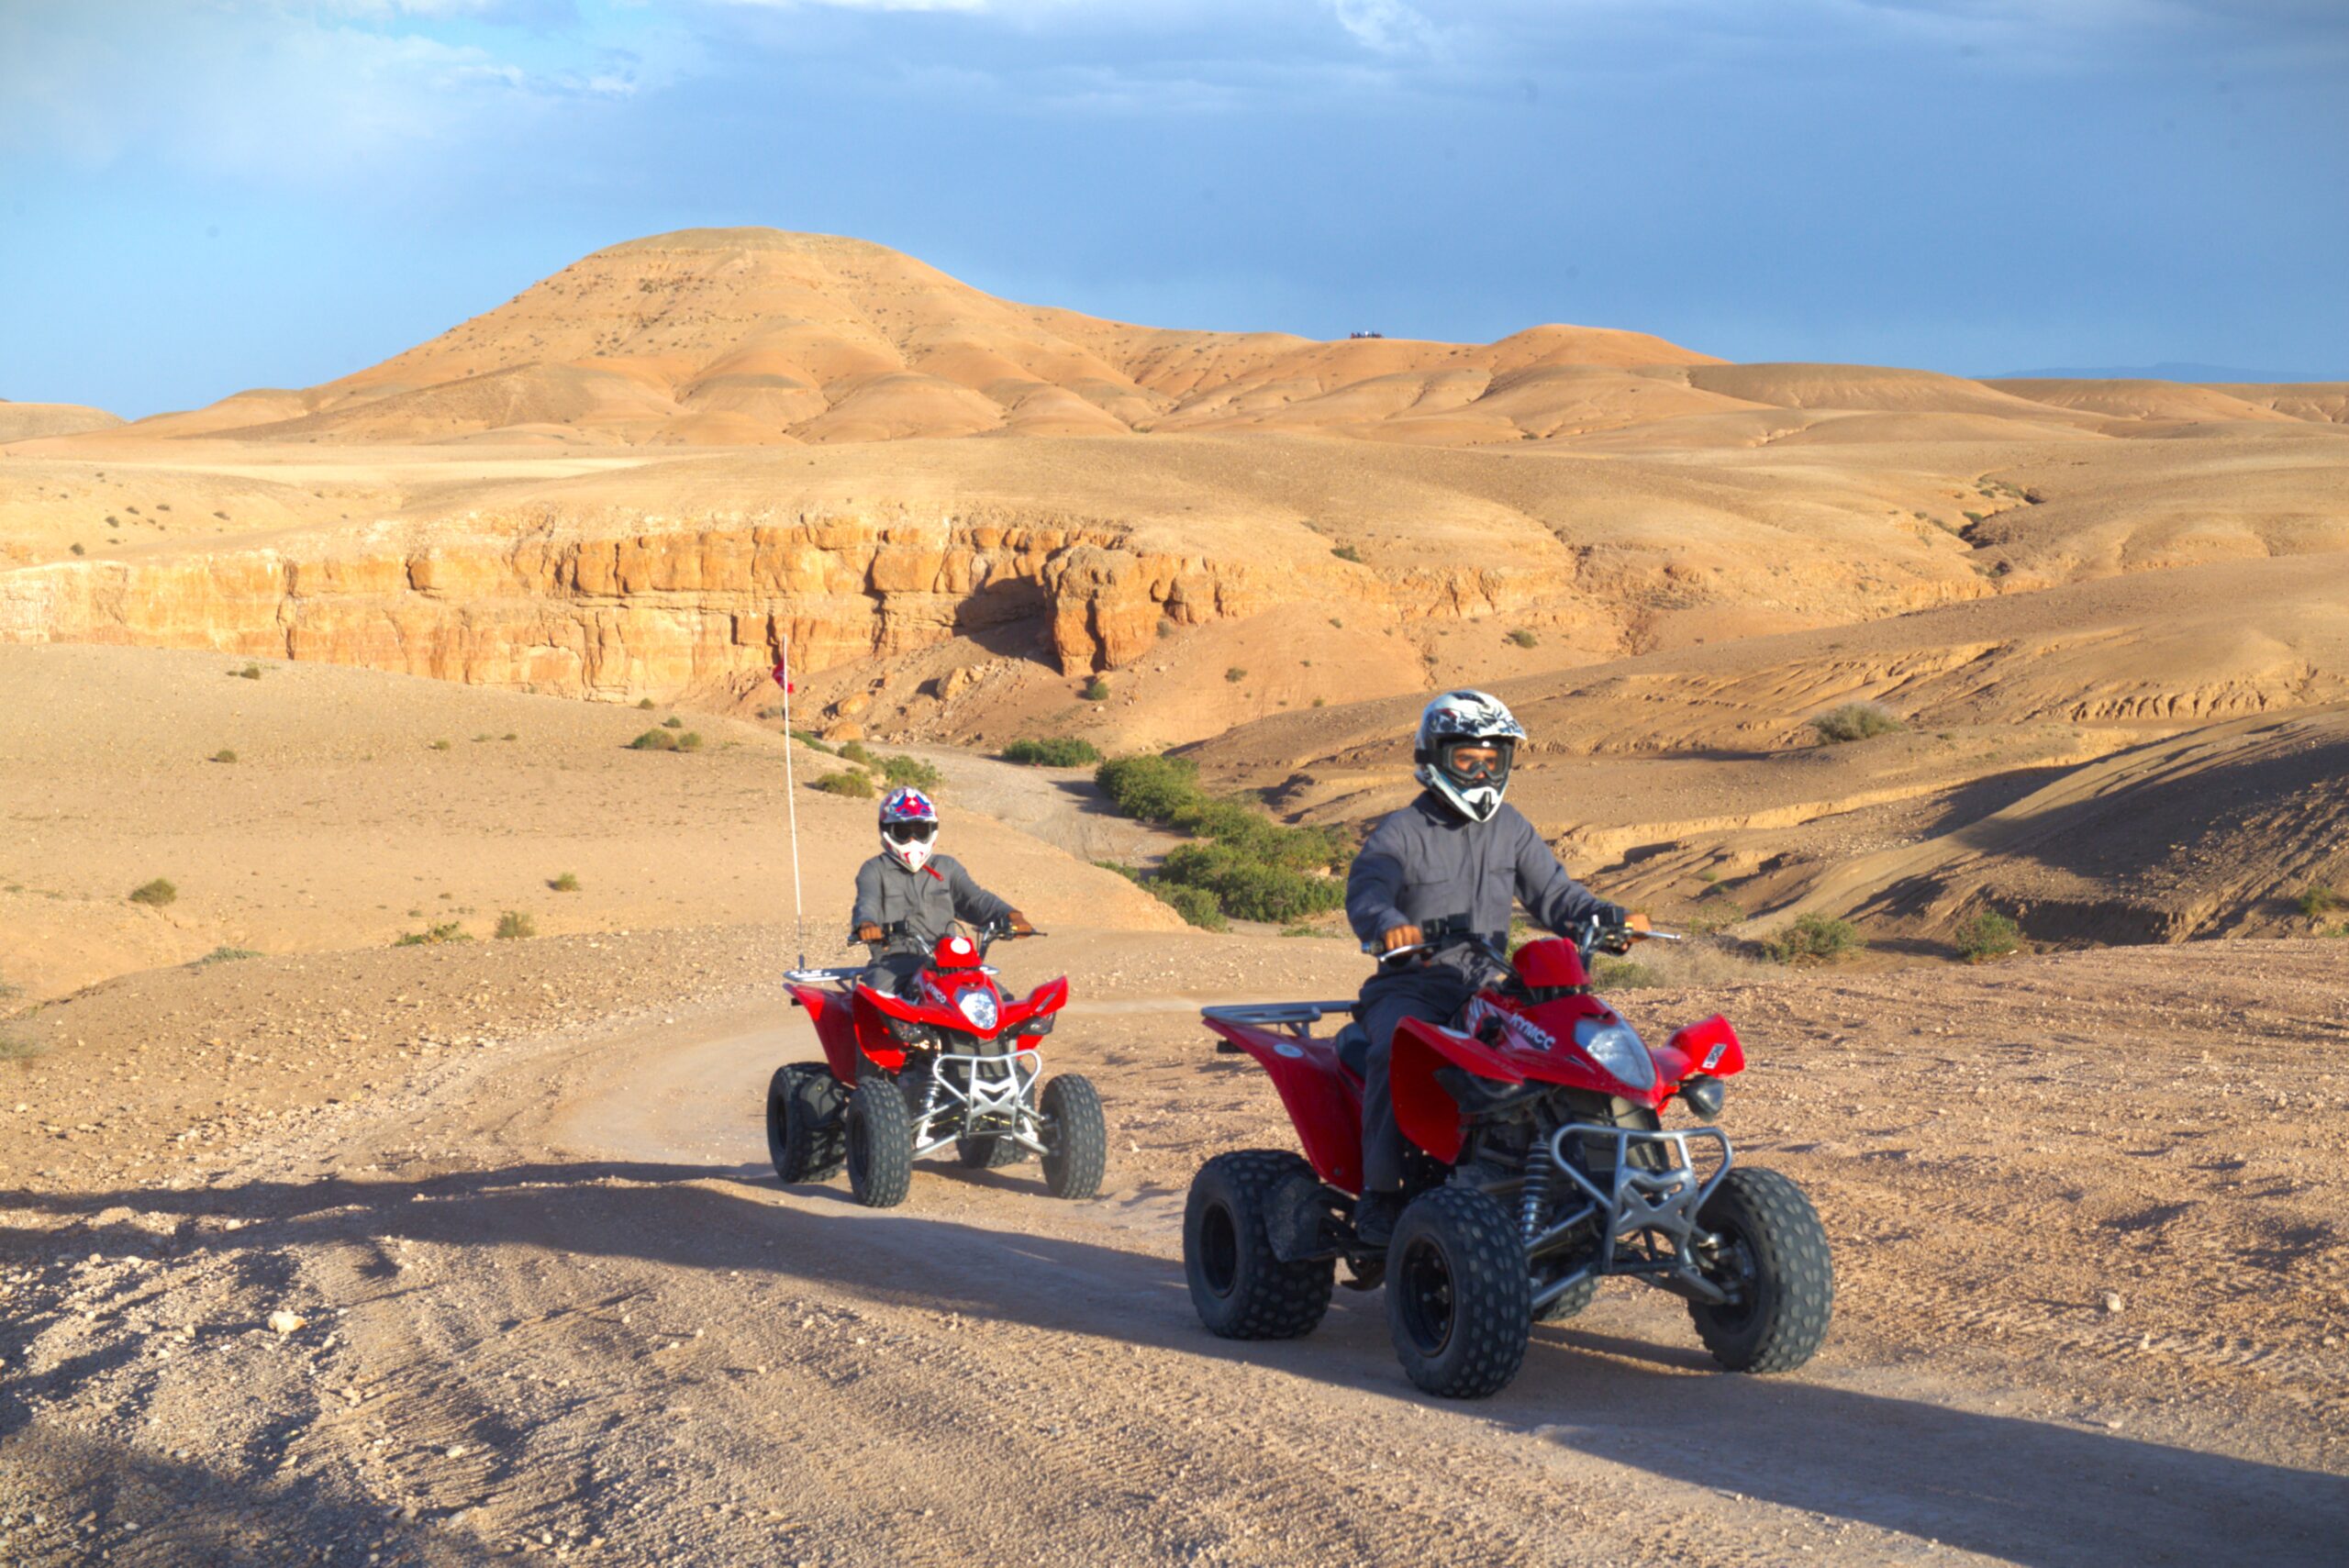
Morocco’s light is strong, direct, and often unforgiving between 10 a.m. and 3 p.m. Most quad tours in the Agafay area run from around 9 a.m. or late afternoon, which means you’ll likely encounter at least one stretch of harsh overhead light. Your default settings won’t handle this well.
Resolution and frame rate: Shoot at 2.7K or 4K at 60fps. The higher frame rate gives you clean slow-motion playback at 50% speed without the stuttering you get from 30fps footage. If your GoPro is an older model (Hero 7 or earlier), 1080p at 60fps is a reliable fallback.
Stabilisation: Enable HyperSmooth (GoPro Hero 8 and later) or the equivalent on your model. Set it to Boost if available. This corrects most of the handlebar vibration without additional hardware. Note that Boost mode crops the frame slightly, so check your field of view isn’t cutting off important foreground elements.
Colour profile: Use GoPro’s flat or LOG colour profile if you plan to edit the footage. If you’re going straight to social media with no editing, the standard vivid profile handles Moroccan red earth tones reasonably well. Avoid the automatic colour mode — it shifts unpredictably when you move from shade into direct sun.
White balance: Lock it manually. Set to 5600K for midday rides and 4000–4500K for late afternoon. Auto white balance creates colour shifts mid-clip when the quad moves from shadow to open terrain, which is distracting and hard to correct in post.
Protune exposure: Set EV compensation to -0.5 or -1.0 in bright conditions. Moroccan skies and pale desert terrain both tend to overexpose on default settings, blowing out the highlights.
Run a 90-second test clip at home before the trip and review it on a laptop screen — phone screens are too forgiving with exposure issues.
Knowing your settings is half the job. The other half is making active decisions about what to capture and when. A full Quad Marrakech excursion typically runs 2 to 3 hours, covering varied terrain — hard piste, looser sand sections, and scenic stops near the Atlas viewpoints or Agafay plateau. Not all of it needs to be filmed.
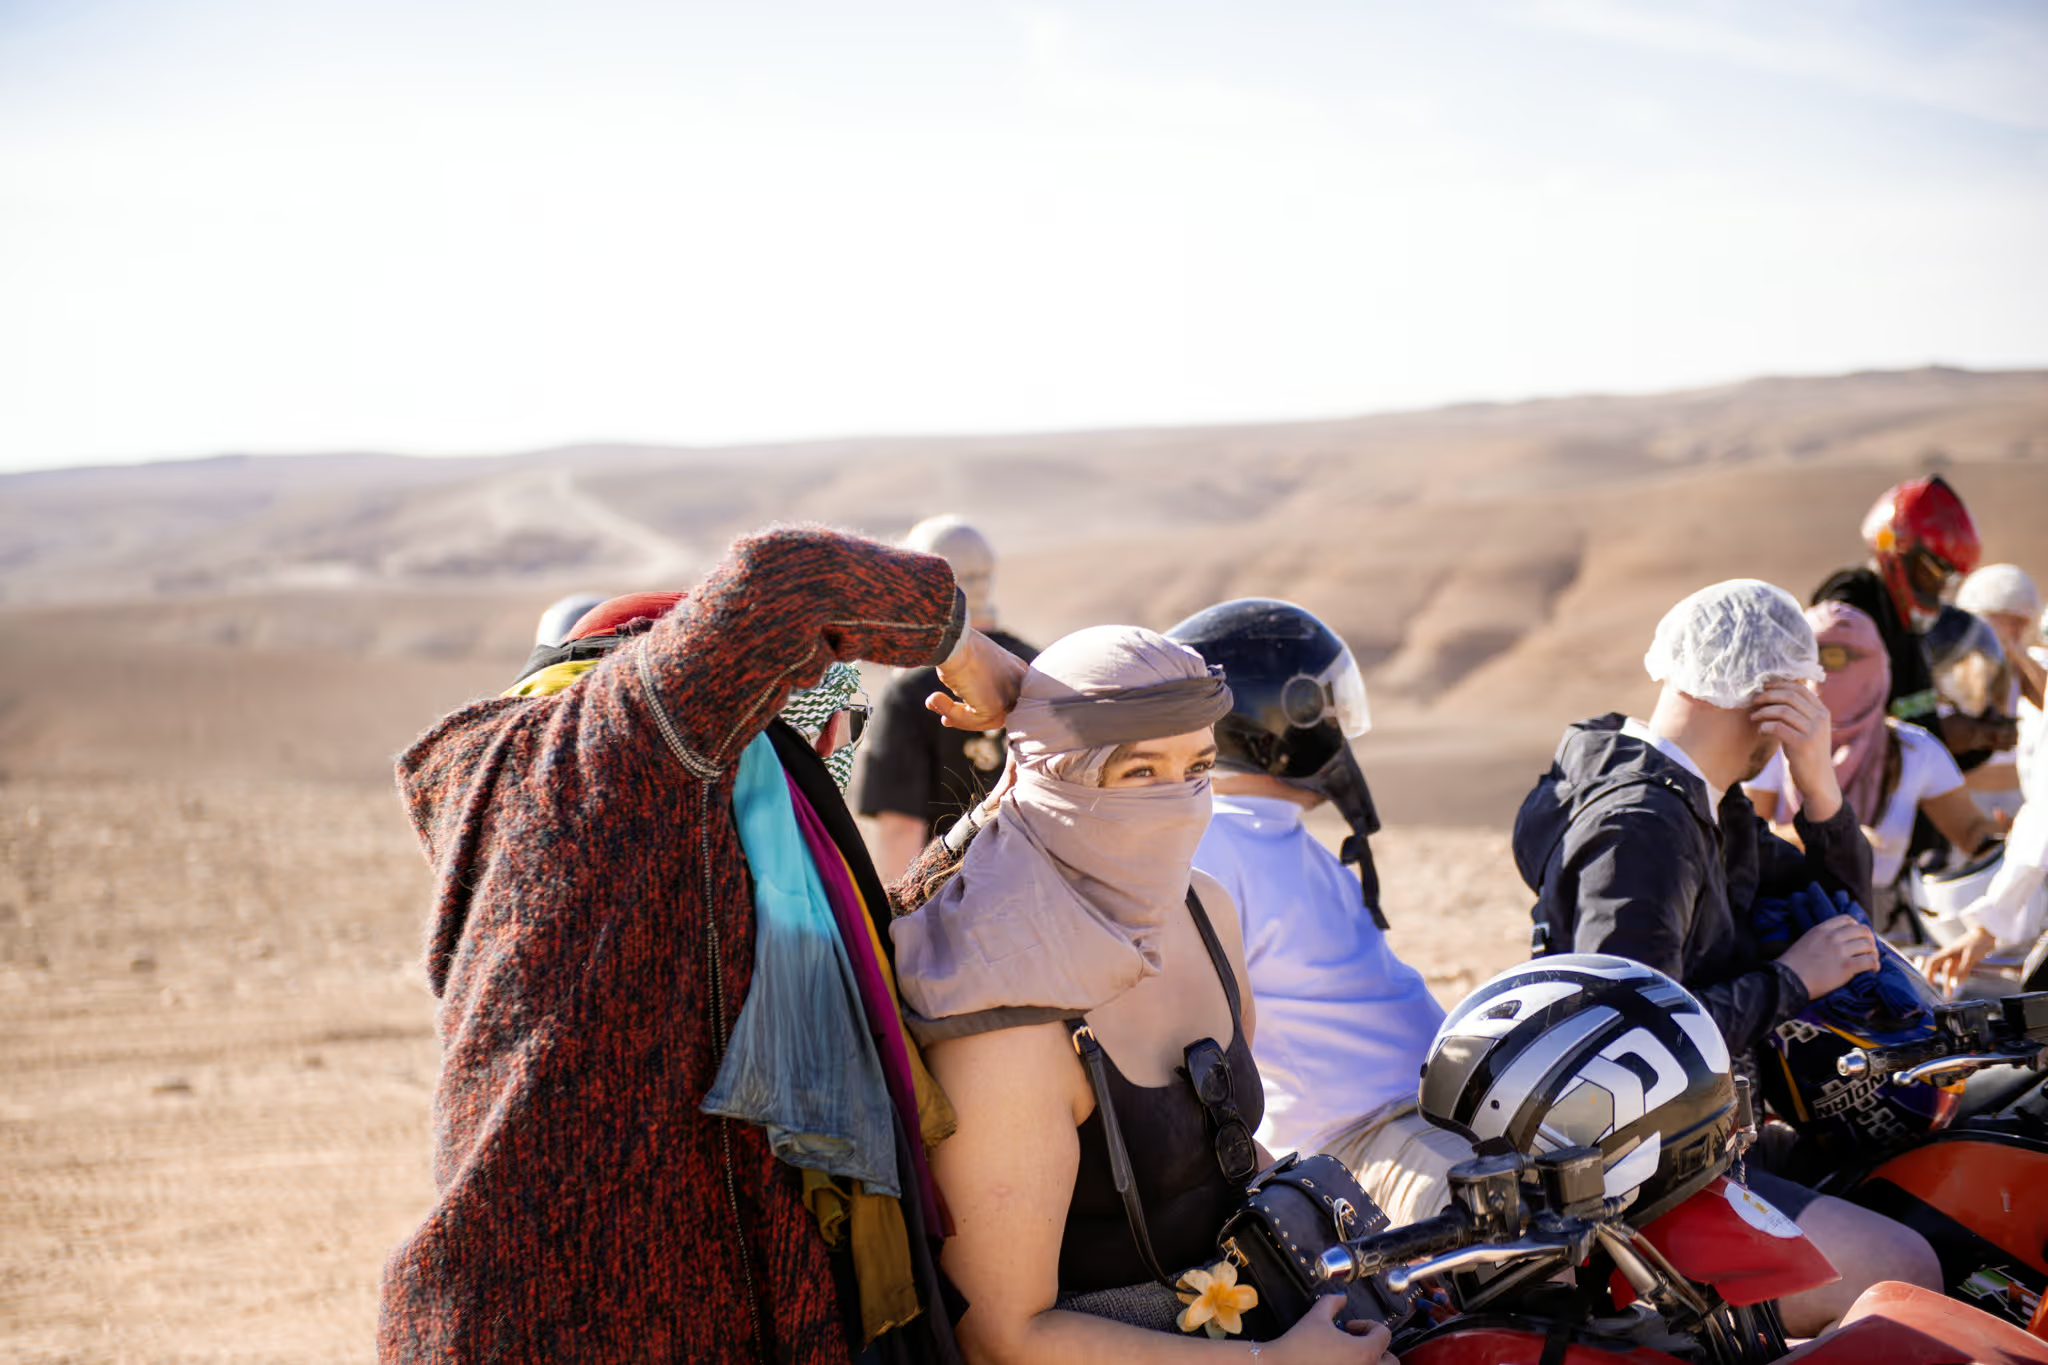
The first 10 minutes: Film the briefing and gear-up moment. These shots contextualise the whole video — your guide explaining the route, helmets going on, engines starting. They take under 2 minutes of footage but anchor the narrative.
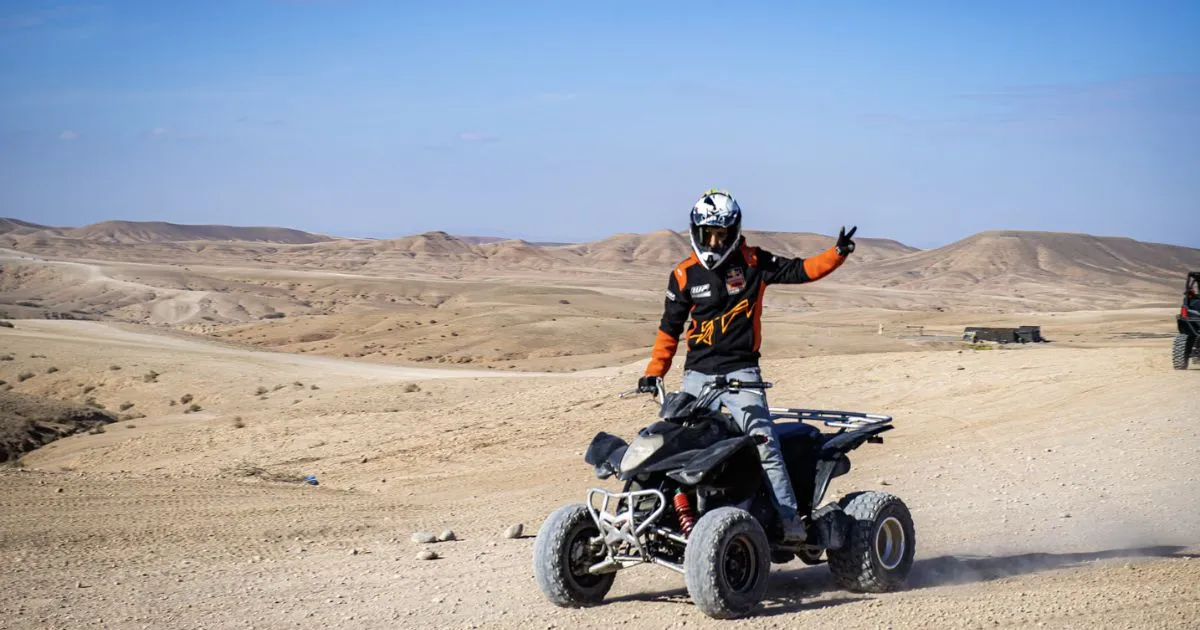
At speed on open piste: This is your hero footage. Let the camera run for 60–90 seconds at a time rather than constantly stopping and starting. Continuous clips are easier to edit and capture the genuine rhythm of riding. Aim for clips where the horizon is level — lean forward slightly to avoid filming the sky.
Scenic stops: Every quad tour includes at least one or two natural stops — a viewpoint, a photo moment, sometimes a mint tea break with a local family. Dismount and take 30–45 seconds of wide landscape shots without movement. These act as breathing room in your final edit and are often the most shareable frames.
Sunset or late-afternoon light: If your tour runs into the last 90 minutes before sunset, prioritise filming then. The light drops to around 3000K, the dust in the air catches a warm glow, and the Atlas range in the background becomes clearly defined. This is when the Agafay looks most like itself.
Battery discipline: A fully charged GoPro Hero 12 lasts approximately 90 minutes of continuous 4K recording. Don’t run it the whole tour — film in 60–90 second bursts, pause on flat uninteresting stretches, and save power for the scenic moments.
The Agafay plateau and the Palmeraie tracks outside Marrakech both generate significant dust, especially when riding in a group. Fine red-orange dust is the number-one cause of damaged footage and damaged cameras on Moroccan quad tours. Taking five minutes to protect your gear properly will save you a ruined SD card or a scratched lens.
Lens cover: Remove the protective lens cap only when you’re actively filming. Most GoPro models come with a standard lens protector already fitted — check it’s clean before the ride and bring a microfibre cloth in your pocket. A single thumbprint on the lens at the start of a 2-hour ride will affect every clip.
Dust pouches: When the camera is not mounted or filming, keep it in a small dust-proof zip bag — the kind used for underwater cameras works well. Don’t leave it sitting in the quad’s storage compartment without protection.
Heat management: In Marrakech summer (June–August), ambient temperatures regularly reach 38–42°C. GoPro cameras are rated to operate up to around 40°C, but direct sun on the camera body raises the surface temperature significantly. If the camera overheats, it will shut down mid-recording. Keep it in shade between filming bursts and avoid leaving it mounted in full sun when stationary.
Underwater housing: If you’re combining your quad excursion with a jet ski session at a Marrakech lake or dam, the underwater housing adds meaningful protection from spray and splash — but it also degrades audio quality noticeably. Decide based on your priority: protection or sound.
Check the lens protector for scratches or cracks before every ride. A scratched protector diffuses the image in a way that’s very difficult to correct in post-production.
You don’t need a laptop or professional software to produce a shareable edit from your quad tour footage. A 90-second to 2-minute highlight reel — the standard format that performs well on Instagram Reels and YouTube Shorts — can be assembled on your phone in 45–60 minutes using GoPro Quik or CapCut, both free to download.
Start with a cull: Before you edit, review all clips and mark the ones you actually want. Be ruthless — aim to keep no more than 20% of total footage. A 2-hour ride at 60fps produces more data than you need. The best clips are usually: engine start and departure, 2–3 action sequences at speed, one scenic stop, and a final arrival moment.
Build the structure: Open with 5–8 seconds of context (helmet going on, engine starting). Go straight into action. Insert one or two landscape shots as visual breathing room. Close with a wide shot or a moment that has a natural endpoint — engine stopping, helmet coming off, a reaction shot.
Music and audio: GoPro Quik auto-syncs music to your footage cuts, which works well for action content. Choose a track that matches the pace of your riding — slower, instrumental tracks work for sunset footage; higher-tempo tracks suit open-piste speed runs. If you have usable natural sound (wind, engine, guide commentary), mix it under the music rather than muting it entirely.
Colour grading: If you shot in flat or LOG profile, apply a basic LUT in CapCut — the Warm Desert preset or equivalent adds back the ochre tones the flat profile removes. If you shot in standard vivid, a slight contrast boost and a small increase in saturation is usually sufficient.
Export at 1080p for social sharing. Keep the original 4K files on your SD card until you’re back home with a proper backup.
A Marrakech quad tour gives you raw material that most travel videos don’t have — real terrain, strong light, and motion that actually feels like speed. The difference between footage you’ll archive and footage you’ll actually share comes down to preparation done before you put the helmet on.
Get your settings right the evening before. Choose a mount that absorbs vibration rather than amplifying it. Film in deliberate bursts, protect your lens from dust, and save your battery for the moments that matter — particularly that last hour before sunset over the Agafay plateau, when the light earns its reputation.
Quad Marrakech’s team has been running these excursions for over 14 years and can advise on the best spots and timings for filming on your specific route. When you book, mention that you’re planning to shoot — your guide will help you position for the best angles and flag the moments worth capturing.
Ready to plan your ride? Browse the excursion options on the Quad Marrakech site and get in touch with the team directly to confirm your preferred timing.
Yes. Most reputable quad operators in Marrakech allow GoPro cameras on tours. Chest harnesses and helmet mounts are the most practical options. Confirm with your operator before the tour that your mount is compatible with the helmets they provide. Handlebar mounts are generally permitted but produce lower-quality footage due to engine vibration.
Shoot at 2.7K or 4K, 60fps, with HyperSmooth Boost enabled. Lock white balance manually at 5600K for midday rides and 4500K for late afternoon. Set EV compensation to -0.5 or -1.0 to avoid blown-out highlights in bright Moroccan sun. Use a flat colour profile if you plan to colour-grade the footage in editing.
A fully charged GoPro Hero 10, 11, or 12 battery lasts approximately 80 to 100 minutes of continuous 4K recording. A standard Quad Marrakech excursion runs 2 to 3 hours, so one spare battery is strongly recommended. Filming in deliberate bursts rather than continuously will extend your total shooting time significantly.
Late afternoon tours that end around sunset produce the most visually compelling footage. In summer, this means a 3 or 4 p.m. departure. The Agafay plateau and Atlas foothills catch warm, directional light in the last 90 minutes before sunset. Midday tours between 11 a.m. and 2 p.m. produce harsh overhead light that flattens the landscape and overexposes the sky.
Keep a dust-proof zip bag in your chest pocket and store the camera in it whenever you are not actively filming. Wipe the lens protector with a microfibre cloth at every stop. Avoid leaving the camera mounted and stationary in dusty conditions — fine red-orange desert dust accumulates on the lens within minutes of group riding.
No. GoPro Quik and CapCut are free mobile apps that handle the full editing workflow — cutting clips, adding music, colour grading, and exporting at 1080p. A 90-second highlight reel from a 2-hour tour can be assembled in 45 to 60 minutes on a smartphone, with no desktop software required.
It is safe when the camera is mounted securely and you are not manually operating it while moving. Do not hold a camera, adjust settings, or review footage while the quad is in motion. Use a chest harness or helmet mount so your hands remain on the handlebars at all times. Start and stop recording only when stationary or during natural trail stops.